
How To Make Poplar Bud Salve: Herbal Home Pharmacy
One of my favorite plants to gather in the springtime is the bud of the poplar tree. These resinous buds are  rich in salicin, which your liver converts to salicylic acid, the active ingredient in aspirin. An infused oil made from poplar buds will reduce pain and inflammation and is excellent for sore muscles or rheumatic conditions. It is also valuable as a simple wound healer and can be used as an expectorant rub on the chest when suffering from a boggy spring cold.
There are 25-35 different species of poplar, and the varieties that are common in British Columbia are known as the Black Cottonwood and the Balsam Poplar. The BC government has put together a really fabulous e-book to help with tree identification which you can download here. You will find the Black Cottonwood on page 169. Below I have shared a very simple recipe and step-by-step instructions for making a salve with poplar bud oil so that you can try it for yourself.
Step 1: Gather Buds
I like to gather poplar at the very end of winter when the nights are still cool but the days are 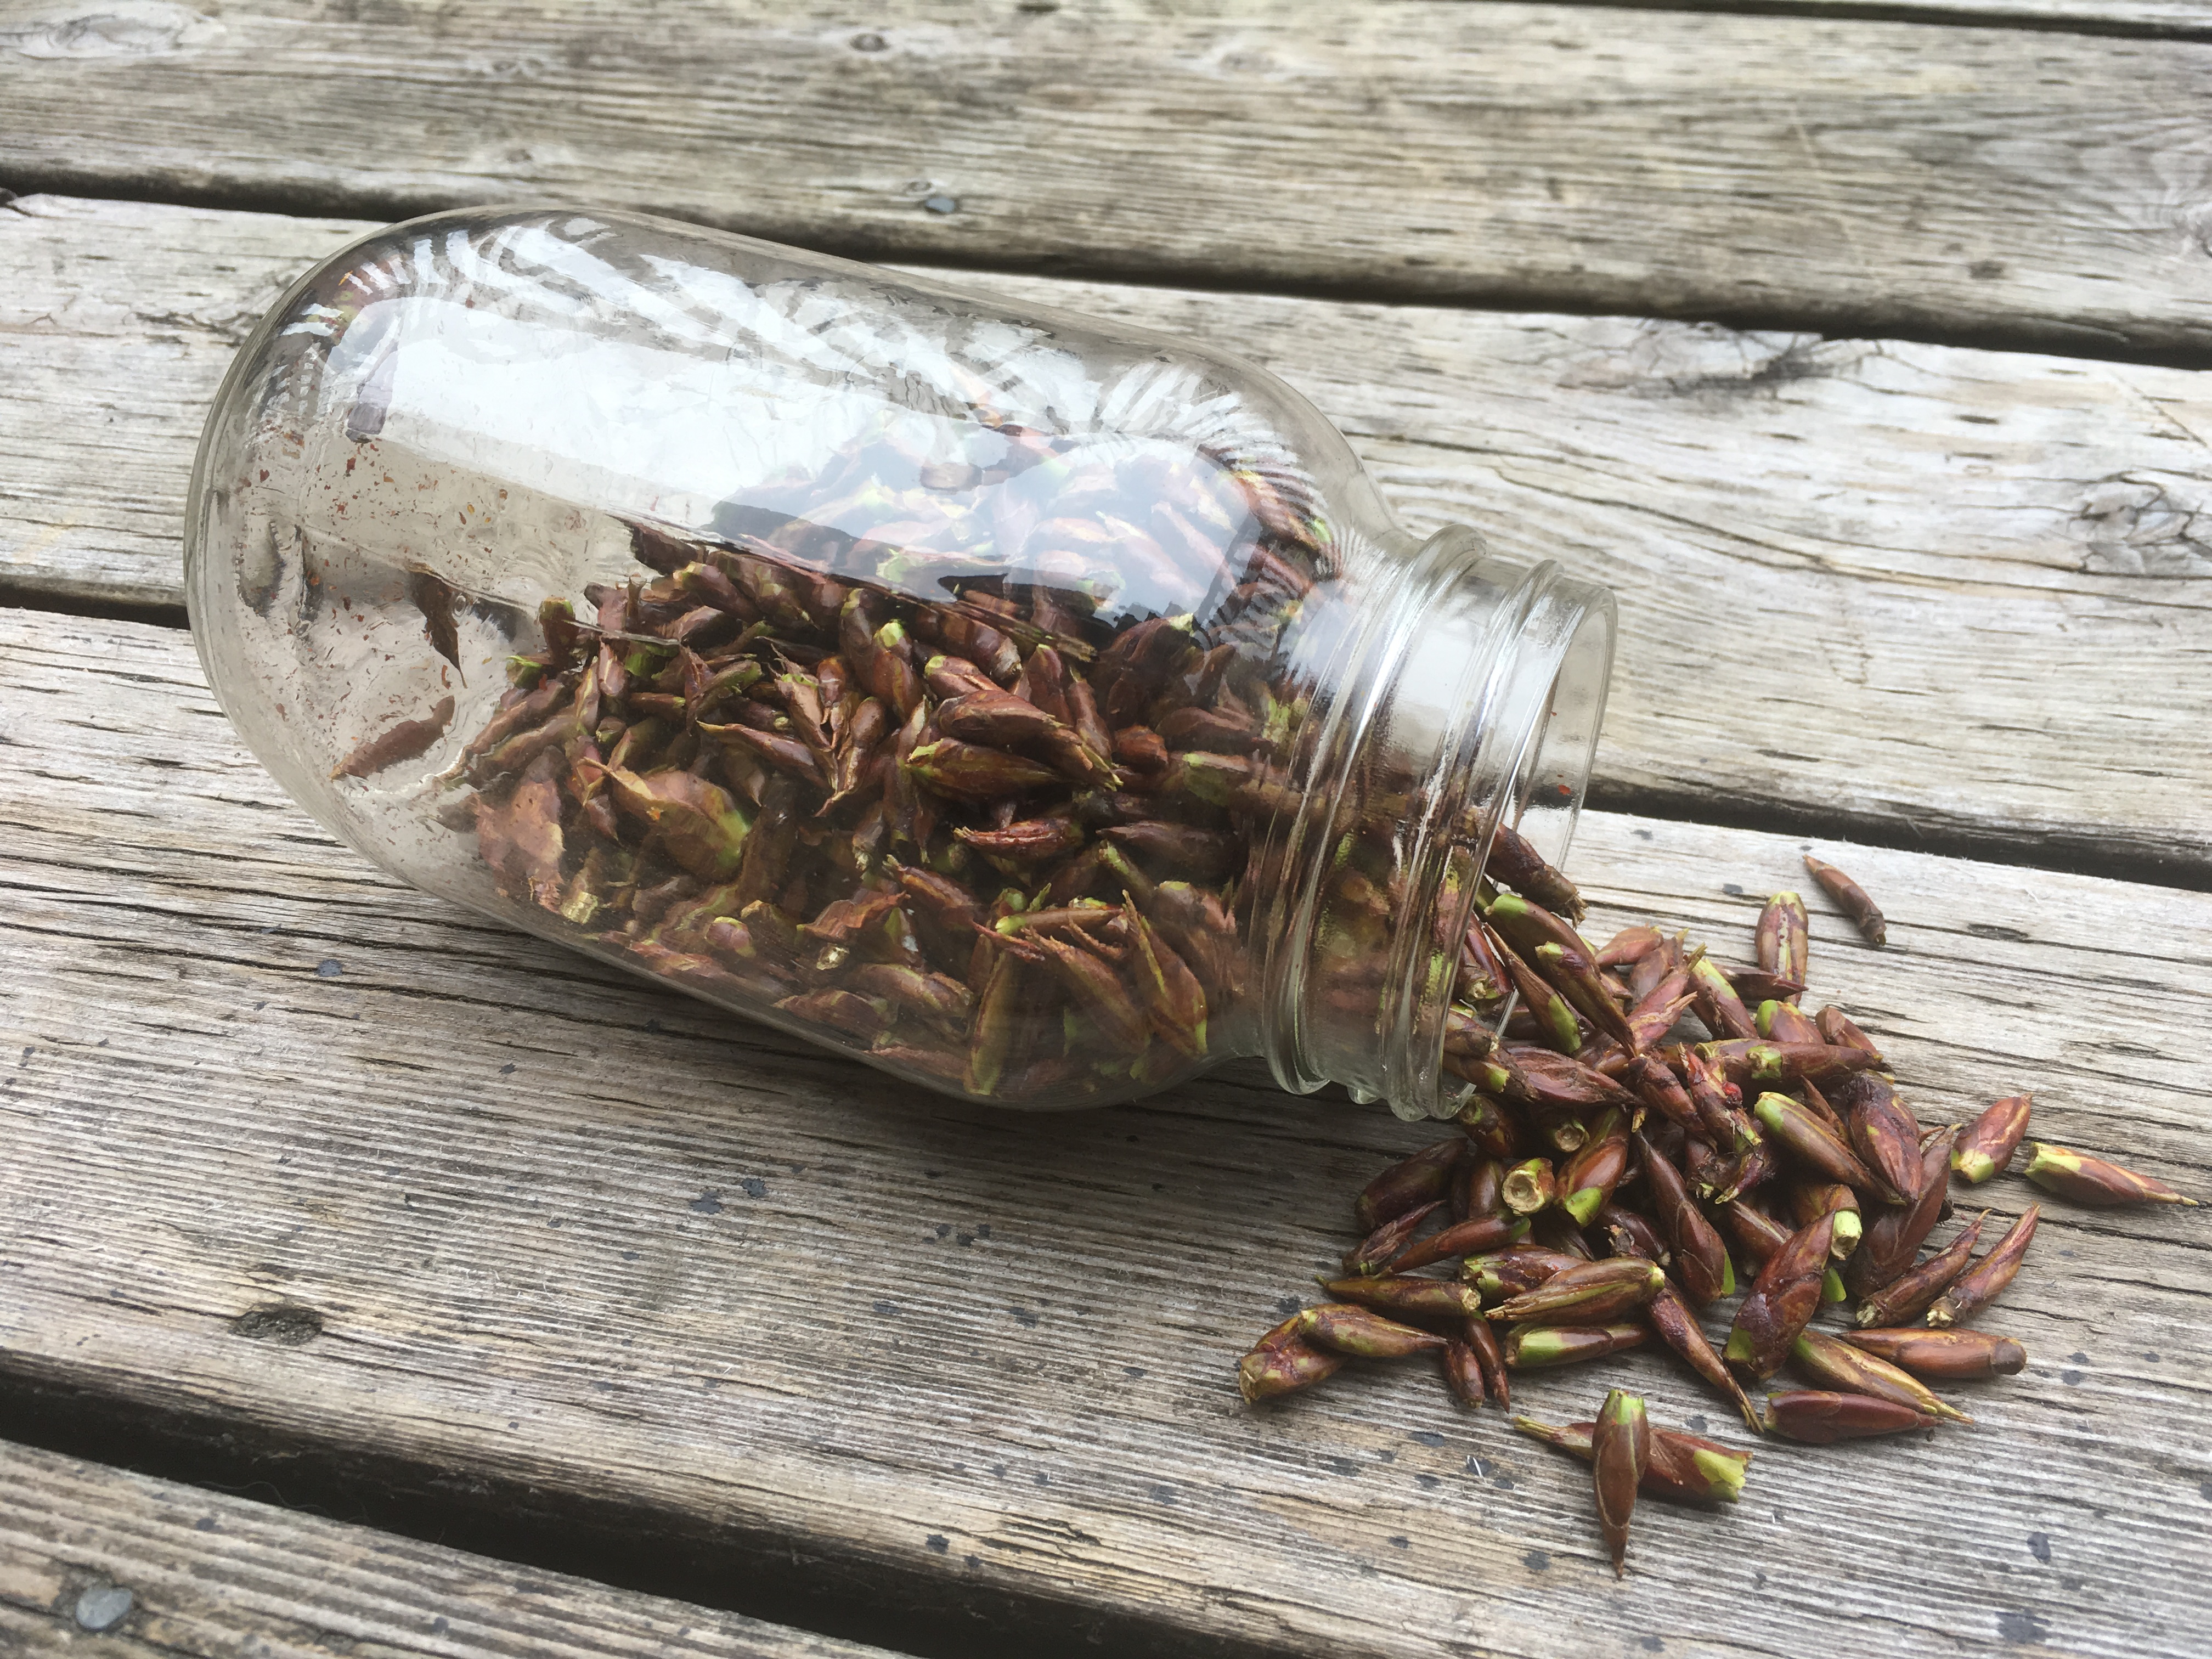 warming up. At this time the buds become fat and sticky and will smell sweet. When gathering be sure to pick from a number of trees, being careful not to take too much from any one of them. It takes a lot of energy for that tree to bring forth those fresh buds and we need to respect that. I usually won’t pick more than enough to fill 3/4 of a one-litre mason jar at a time as this will make a decent amount of infused oil, certainly enough for your own home use.
*Your hands will get very sticky from the picking. You can use a bit of unscented oil to rub the sap from your fingers once you are done.
Step 2: Infuse Buds In Oil
 The next step is to cover the buds in a carrier oil such as olive, almond, apricot kernel etc. I tend to use olive oil when I want to use the oil to make a salve for sore muscles or respiratory infections, but also like to make another batch with almond oil that I will use as a massage oil or skin care salve.
Ensure that you pour enough oil into the bottle to cover the buds entirely. The buds will swell once they get soaked in oil so you will often need to top it up after a day or so. Be sure to label your oil with the date as well as which type of carrier oil you used.
If you are a patient person it is a good idea to let the buds infuse in the oil for 4-6 weeks. I like to leave them in the oil for one full moon cycle before I do a hot infusion and continue with my salve making. If you do not want to let the oil steep for that long you can skip straight ahead to the hot infusion in step 3.
Step 3: Hot Infusion
Because we want to draw all the sticky sap into our carrier oil I find a hot infusion is a key step for making 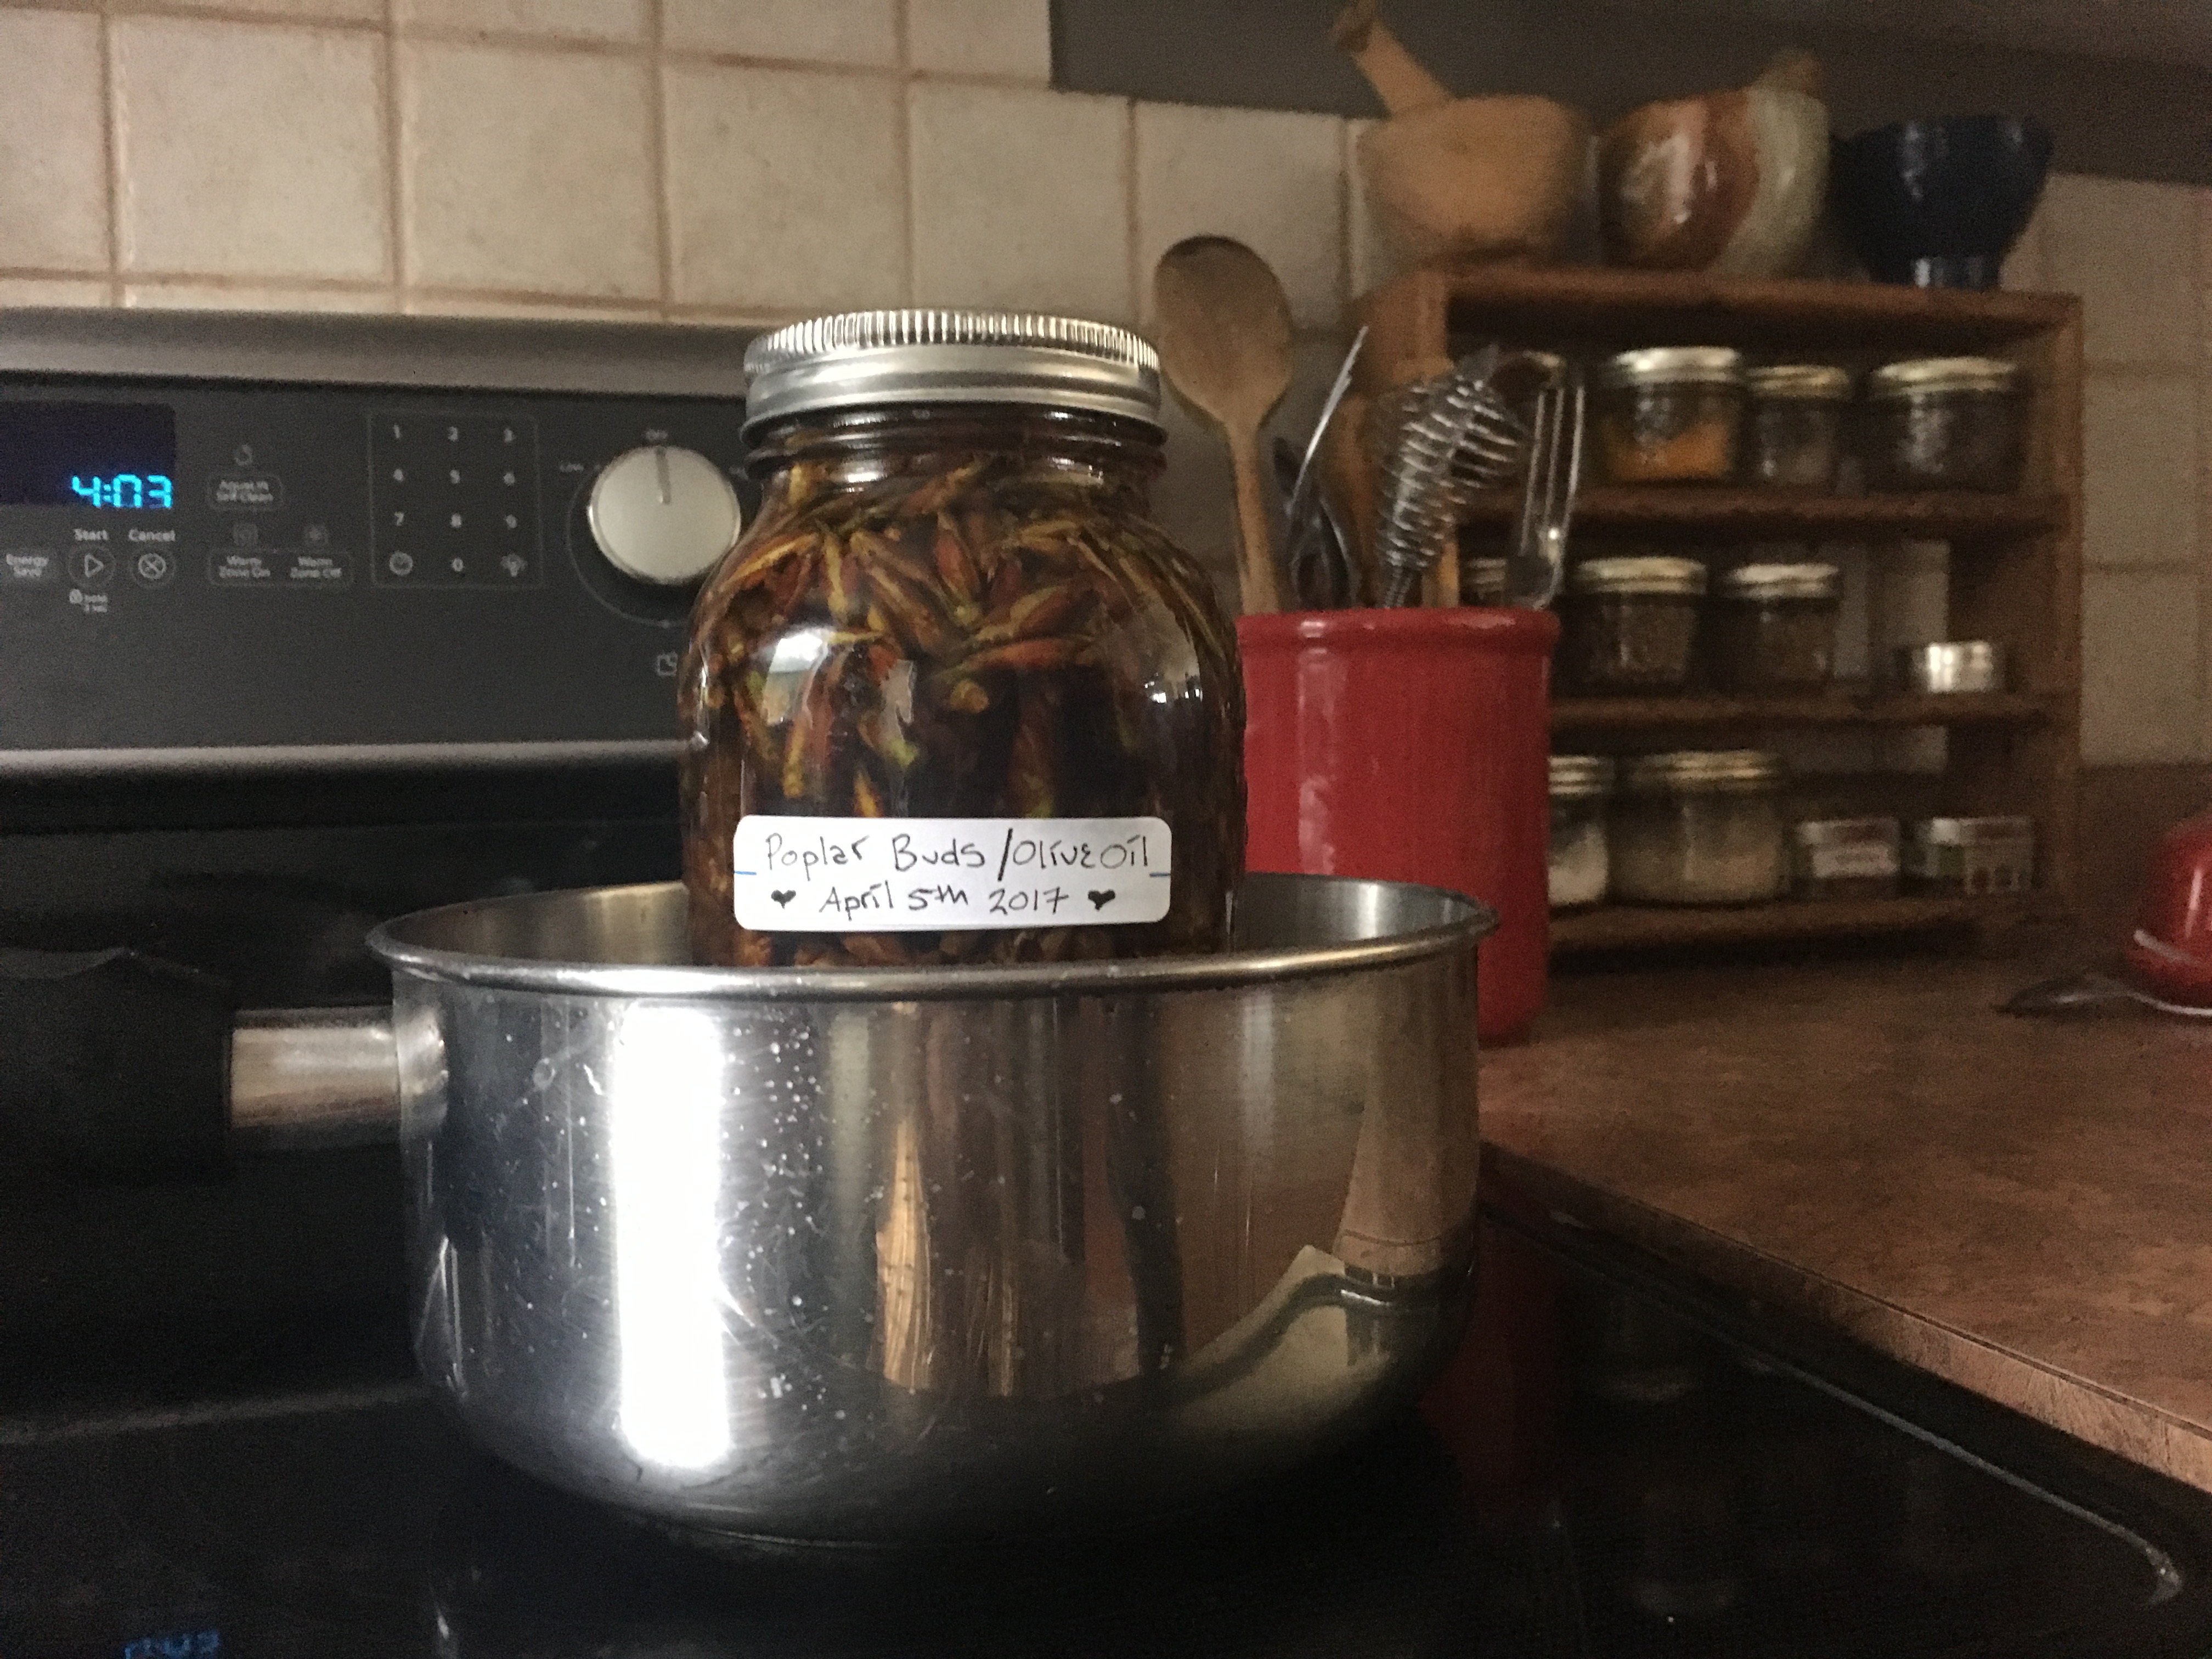 poplar bud oil. For this I use a simple hot water bath, submerging the jar of oil a pan of water which I will simmer on a medium heat for 1-2 hours. When you are doing this take the lid off the jar of oil and stir regularly. Alternatively, if you have a small crock pot that you use for herbal infusions like this you could use that. After 1-2 hours you can strain the oil off from the buds using a fine-weave cheesecloth or muslin herb bag.
*Be mindful of the fact that everything you use to make this oil will likely become coated in sticky resin and so it is a good idea to use implements that you will reserve just for this purpose.
Step 4: Combine Beeswax & Oil
Once you have strained off your infused oil you can use it as a massage oil on its own, or as a base for making salve. To make salve you will need grated/chopped beeswax, and some clean jars or canisters to pour the salve into. Additionally, you can add essential oils of your choice. See notes on essential oils below.
When you are ready for this next step grate or chop 2 TBSP of beeswax for every 1 cup of infused oil. Get your tins or jars ready, and then mix the beeswax into the oil and return to the hot water bath. Warm the oil with the beeswax, stirring frequently, until the beeswax is melted.
*When making a salve for sore muscles I like to add oils of wintergreen or sweet birch, ginger, marjoram, juniper berry, and clove. In general, I will use about 15-20 drops of essential oils for every 2 0z container of salve I am going to fill. I like to drop my essential oil directly into the jars or tins I am going to fill, rather than mixing it into the oil/beeswax mixture. But if you would prefer to add it to the liquid mix rather than putting it directly into the tins than be sure to do it after you have removed the oil/beeswax from the heat, and before it starts to cool and set.
Step 5: Pour Into Jars & Set
Once you have your liquid beeswax and oil combined, along with any essential oils you have chosen to add, 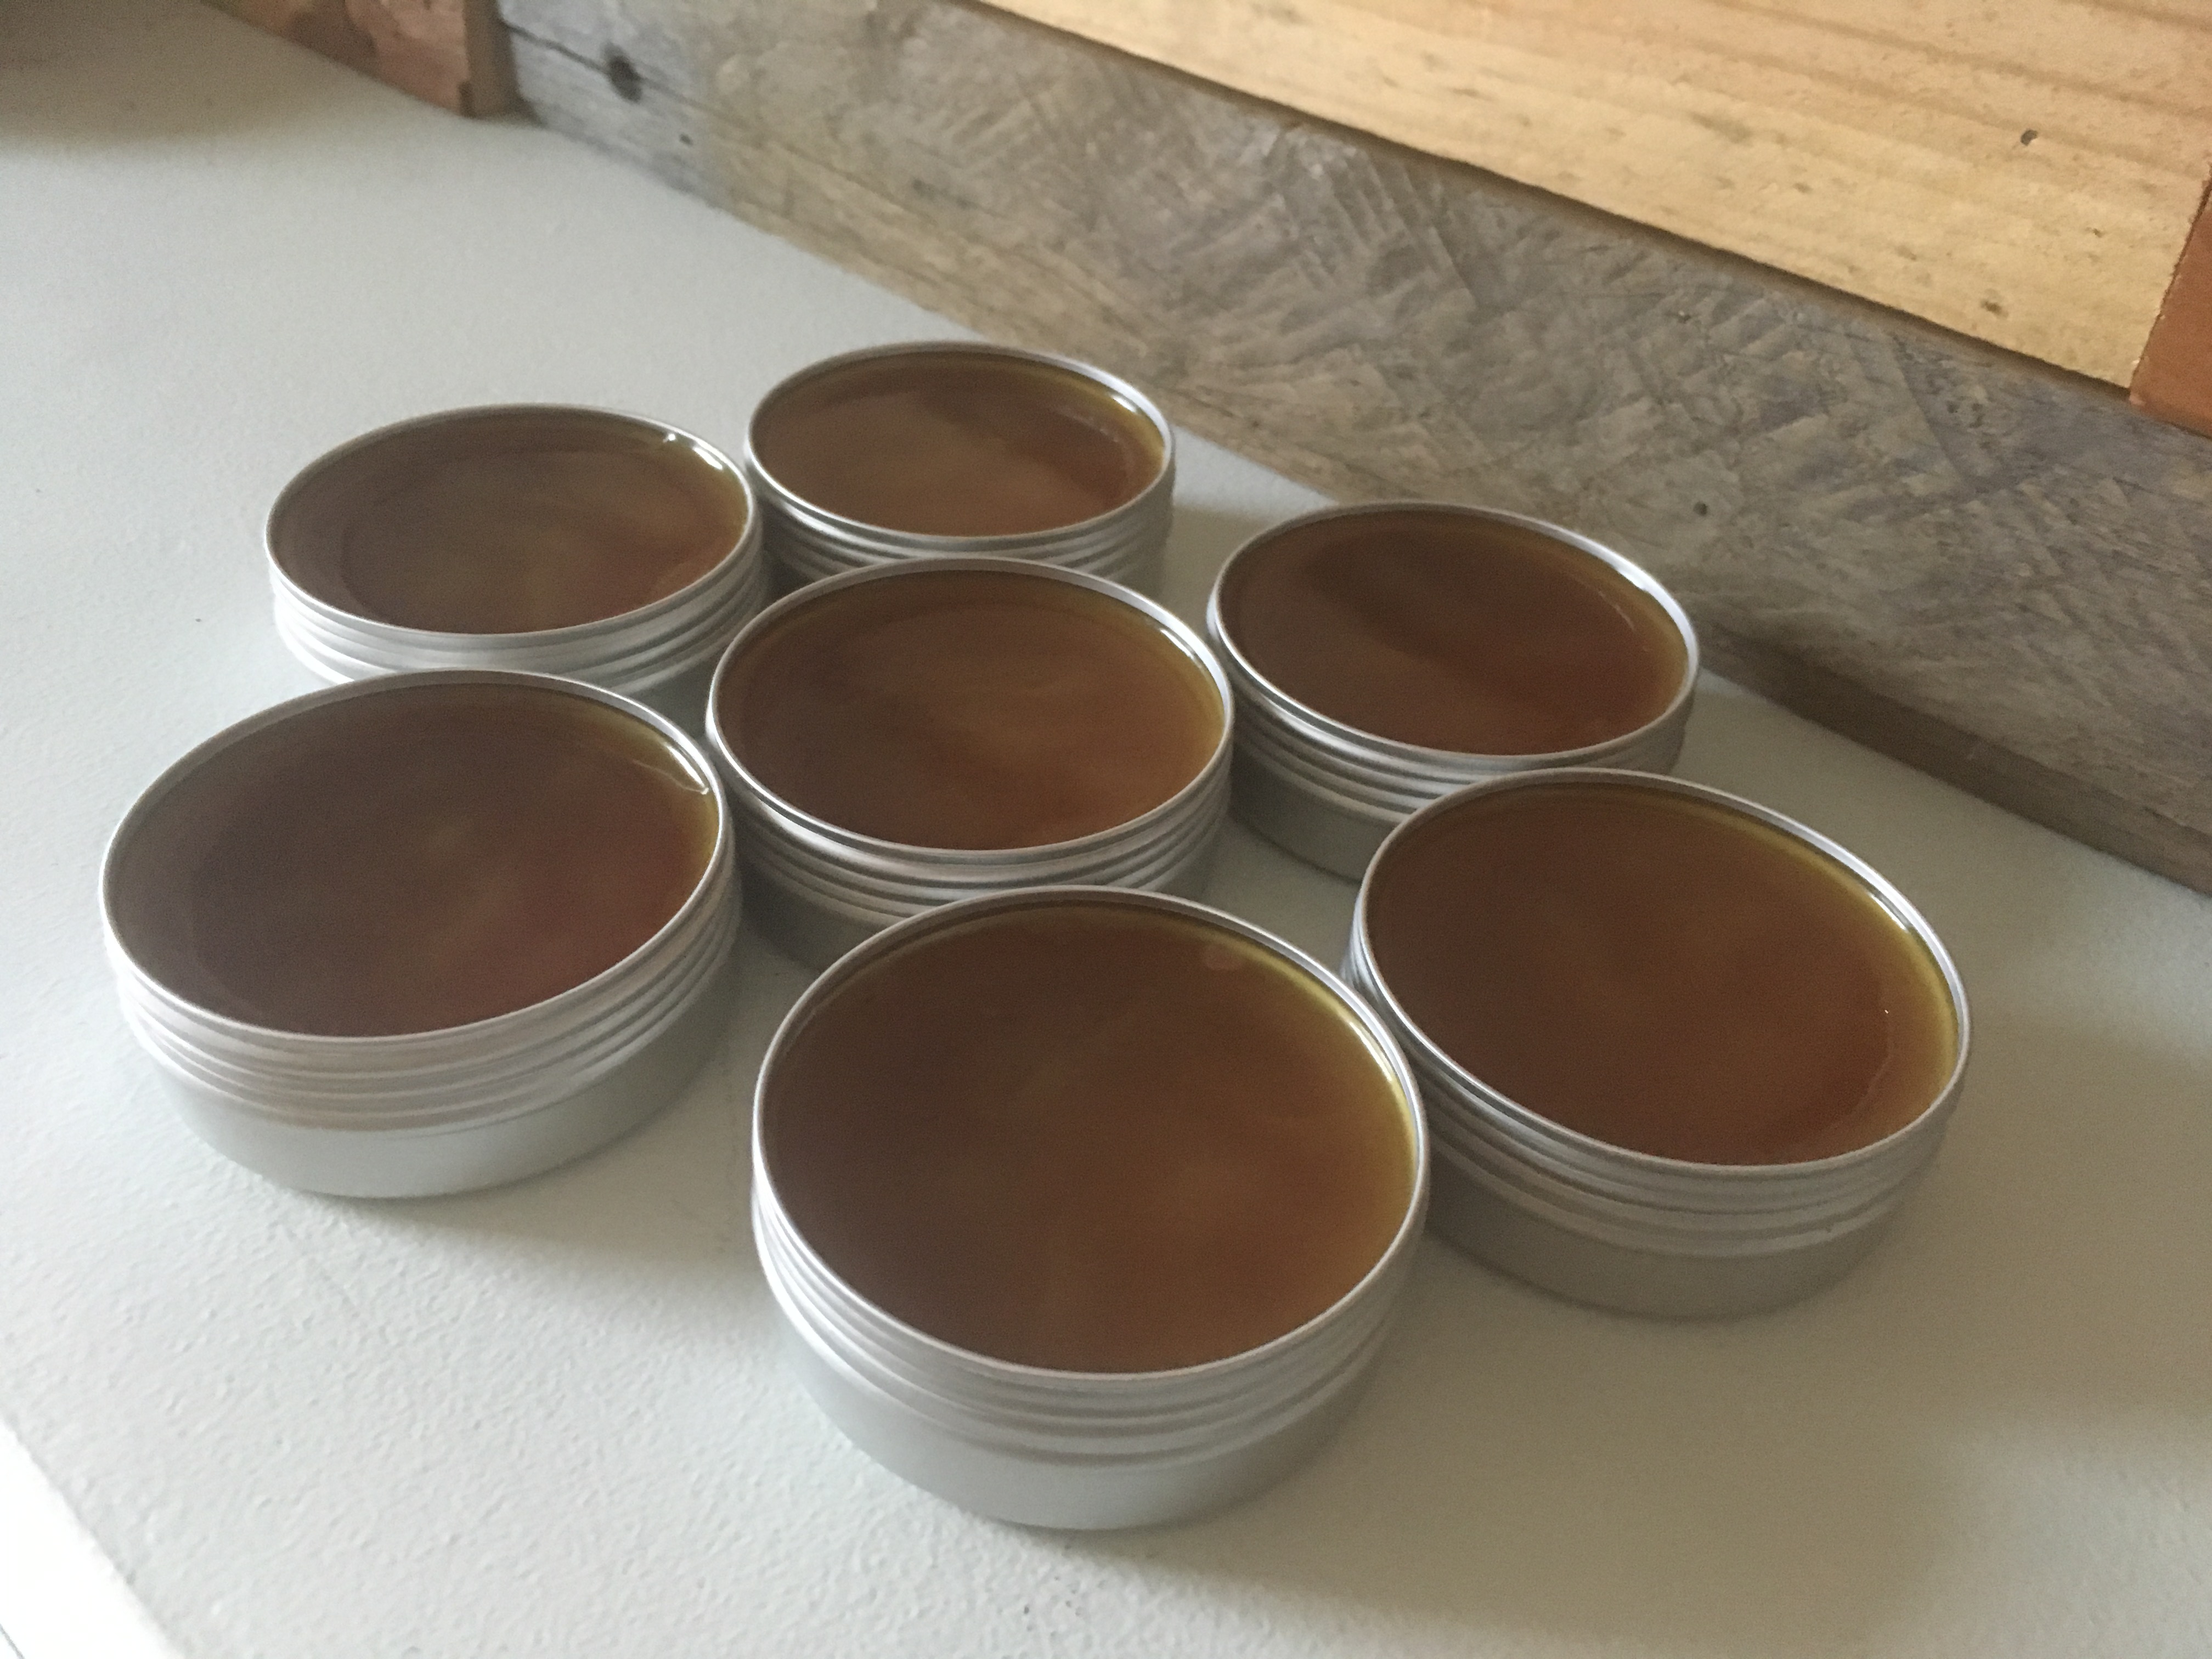 you can pour it into jars. You want to do this as soon as possible after removing the oil from the hot water bath as it will harden as it cools. Once you have filled your jars let them sit open until they have cooled and set. The salve will harden and remain solid at room temperature but should melt easily in the warmth of your hands when you scoop it out.
To finish your project label your salve and store in a cool place. Use as needed to massage sore muscles or aching joints. I love this salve so much I have a jar in almost every room of my house and often apply it simply to enjoy its smell.
If you enjoyed this article and want to learn more about seasonal medicine making and home herbalism please join me in my 13 Moon’s Circle which starts on March 21st 2021 and only opens up once per year. The 13 Moon’s program takes you on a journey through the astrological year and is meant to support you in your own practices of personal ritual, seasonal magic and kitchen medicine making. Learn more about 13 Moons here.


